Create an Event Based on a Report
A specific permission is required to create an event.
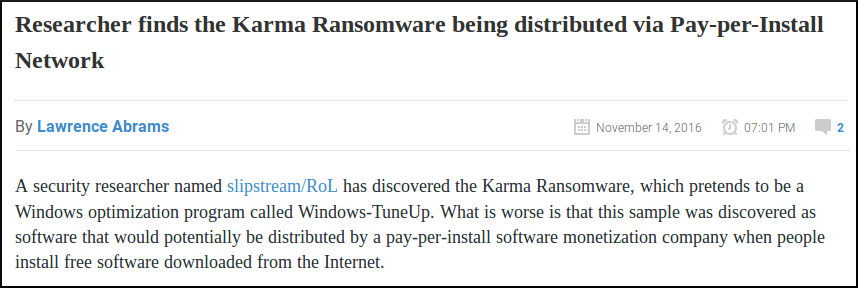
For this example, we will use a report published on Bleeping Computer, which we will treat as OSINT.
Adding an event
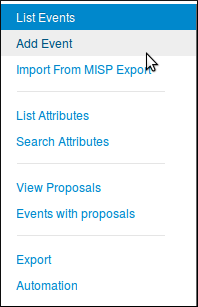
First, create a new event by clicking Add Event in the Events list view.
This opens the add event form.
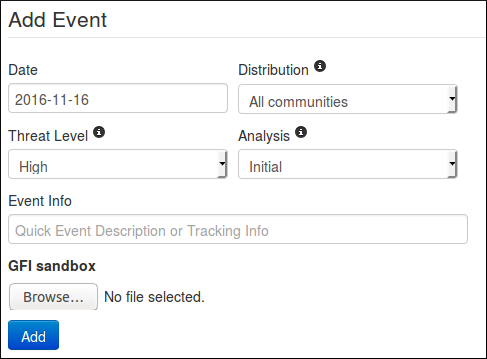
Let’s populate it with the information we already have: * Date: Here we will put the date of the report, so 2016-11-14 * Distribution: Depending on the event, we might want it to be more or less spread across the MISP instances. For this one, since it is a public report, there is no reason to limit the diffusion so “All communities”. * Threat Level: This is self-explanatory. Since the ransomware described in the report does not appear to use a major exploit, we can choose Low or Undefined. We will use Undefined because it can be refined later. * Analysis: Give the current stage of the analysis. Since the report is published, we can assume that the analysis is completed. * Event Info: This field is effectively the event title, so it makes sense to use the report title here. Because the source is public, we also prefix it with OSINT.
The add-event form no longer has the legacy GFI sandbox field. Depending on your version it also offers a few optional fields — most notably Extends event (to make this event an extension of another), and, when you set Distribution to Sharing group, a selector for which sharing group to use. See the Using the system chapter for a full reference to the current add-event form.
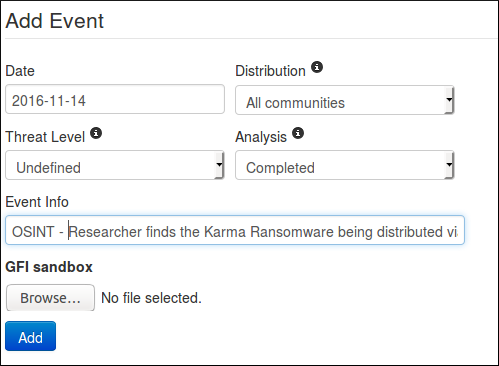
Click the blue Add button to create the event. You now have a brand-new, empty event.
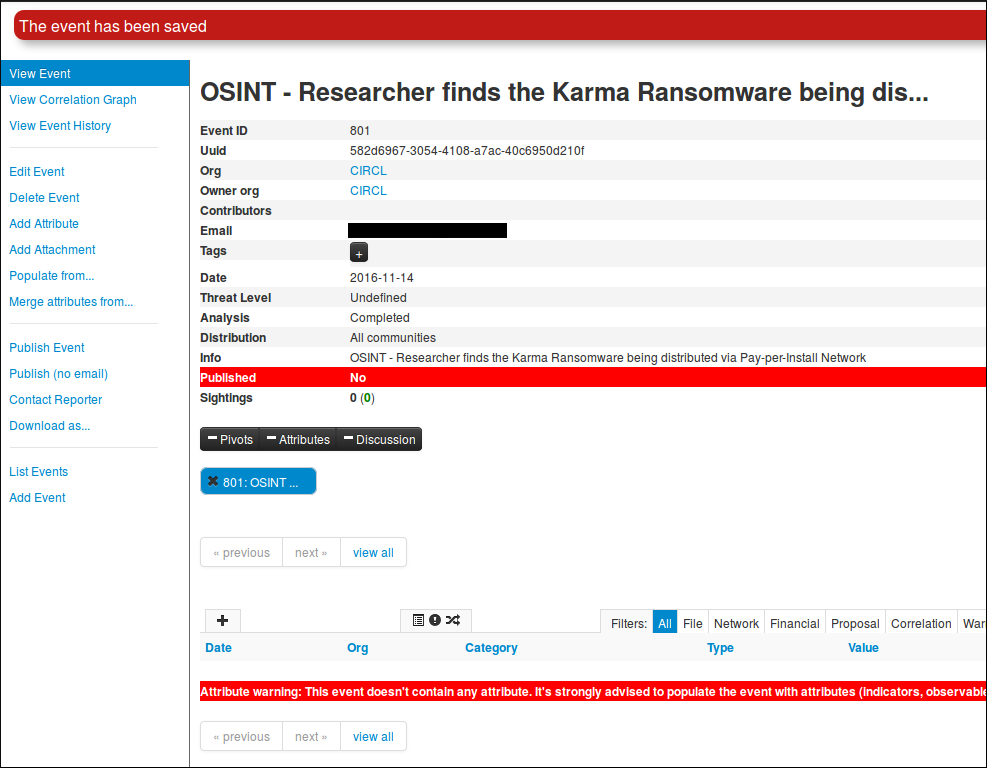 (Displayed information can change depending on your role on the MISP instance)
Adding Attributes
Now it is time to populate the event. Before adding IoCs, we will add general information about the report itself: the report link and a short introduction. Click Add Attribute in the side menu to open the following view:
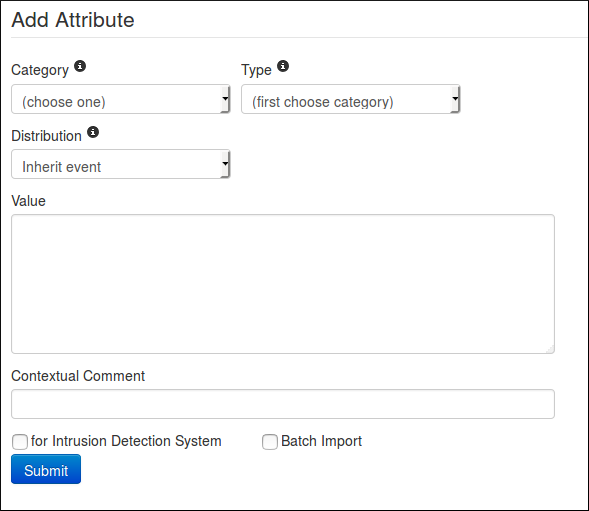
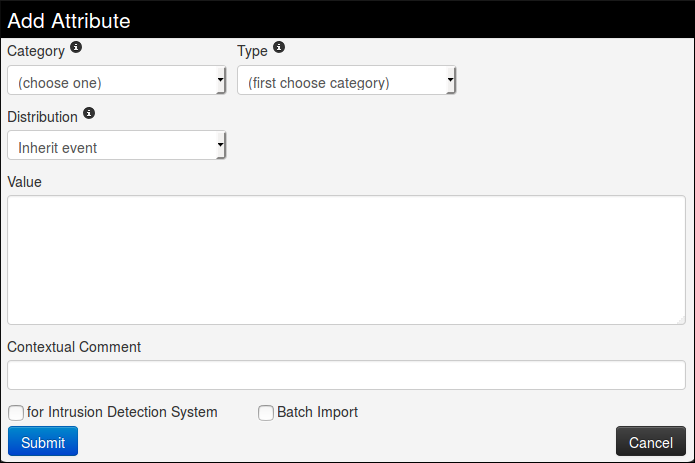
- First, add the link to the report. Because it was written by another researcher, we will treat it as External analysis and choose that category.
- For the type, choose link because we are adding a URL.
- The distribution field can be a little tricky. We can either choose one of the option that was already available at event level or “Inherit event”. If we choose the latter, the attribute will be shared the same way as the event it is included in (here to “All communities”). On the other hand, if we choose manually a distribution for the attribute, the most restritive between event distribution and attribute distribution will be applied. That is to say: if both event and attribute distributions are the same, there will be no change (similar to “Inherit event”). However, if for instance the event distribution is “all communities” while the attribute is limited to “This community only”, the event will indeed be distributed to all communities but without this particular attribute which will be limited to this community only. The same works the other way around, if the attribute can be distributed to “all communities” while the related event is limited to this community, the attribute being dependant of the event, it will be shared to this community only, basing its distribution on the event (most restrictive) one.
- The value is the data we want to add, which in this case is the report URL.
- The contextual comment is not used for correlation. It is mainly there to provide supporting information about the attribute, such as a port number for an IP address or some other qualifier. Here we can note that the link is the source report.
- “for Intrusion Detection System” is used to set the IDS flag or not. If set, the attribute will be used as an IDS signature when exporting the NIDS data. In this case, we have no reason to check it.
- Batch Import is useful when you need to add several IoCs of the same category and type by separating each value with a line break. We do not need it here.
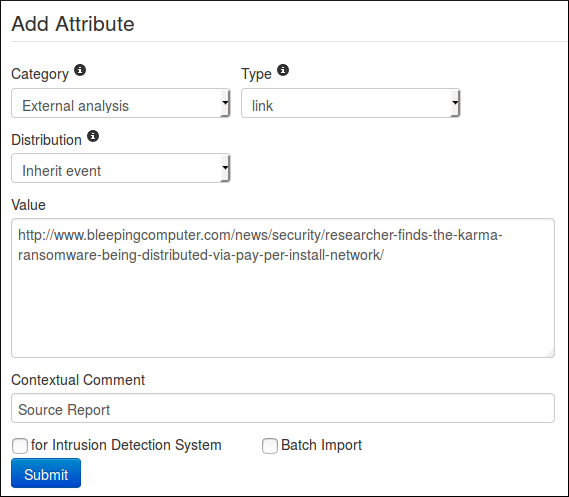
Once all fields are filled in, click Submit.
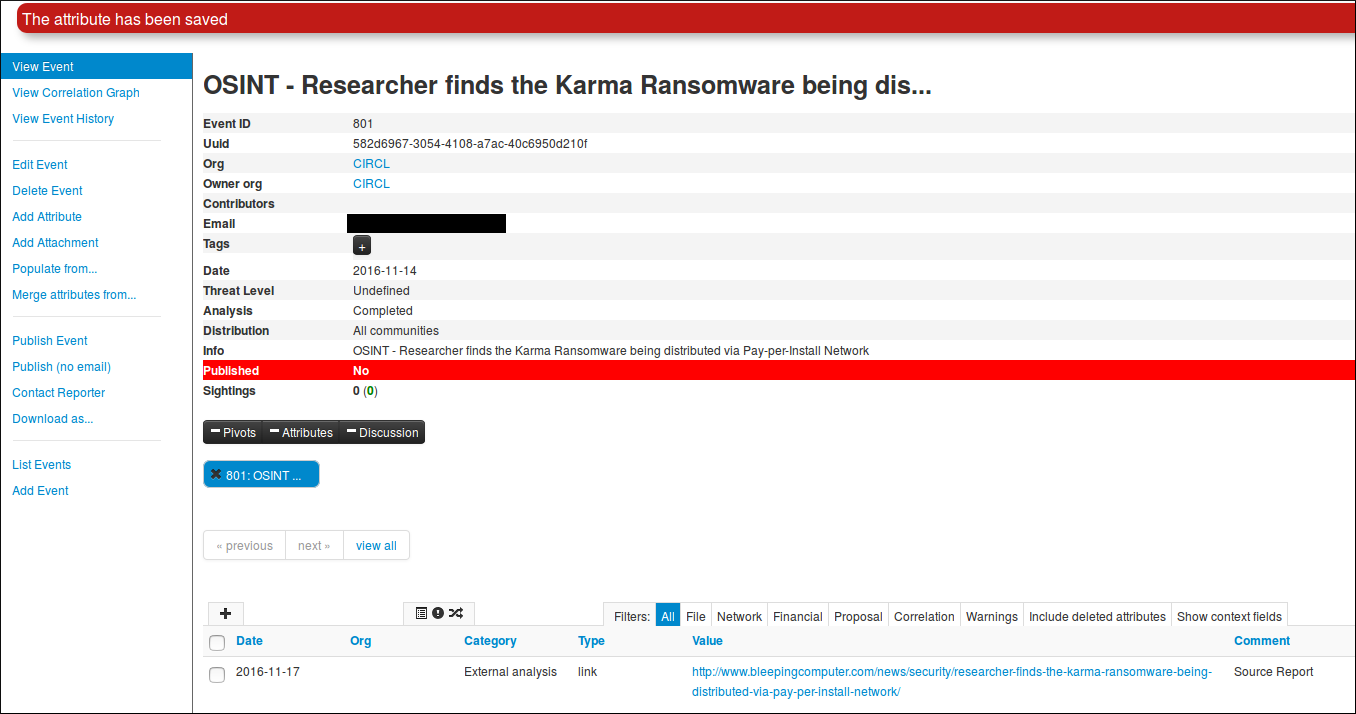
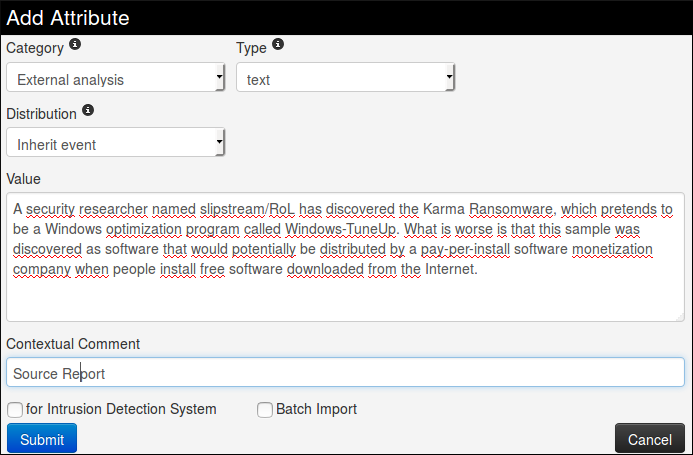
We can now follow a similar process to add an introduction to the report, meaning the first paragraph of the article. This time, change the type to text and open the add attribute form by clicking the small + icon next to the attribute table.
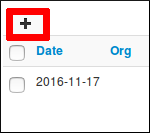
The same form appears in a pop-up.
Fill it in with the required data.
Then submit it by clicking the blue button. Et voilà!
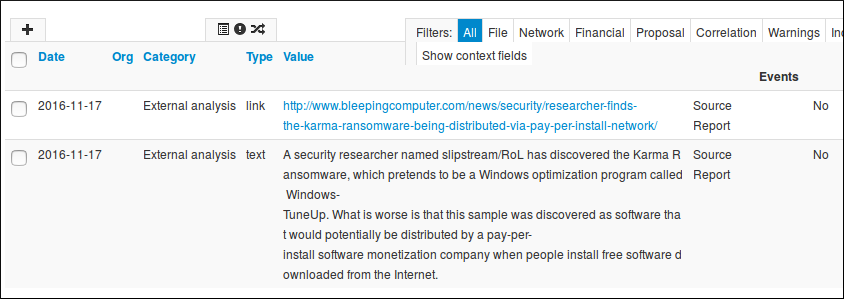
Okay, now it is time to add some Indicators of Compromise. In this report, they are mainly listed at the end.
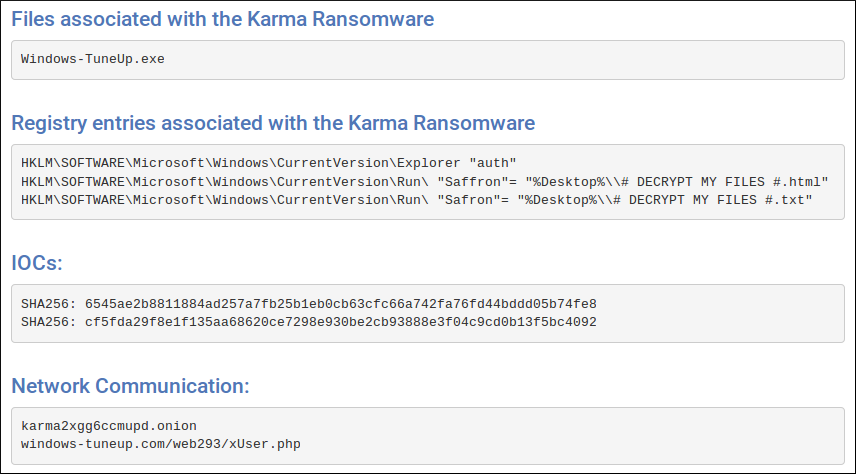
Let’s try to define which category/type those IoC belong to.
First, Windows-TuneUp.exe is without a doubt a filename, and the associated category may be Payload delivery.
Second the registry entries (type regkey) seems to be from Artifacts dropped category
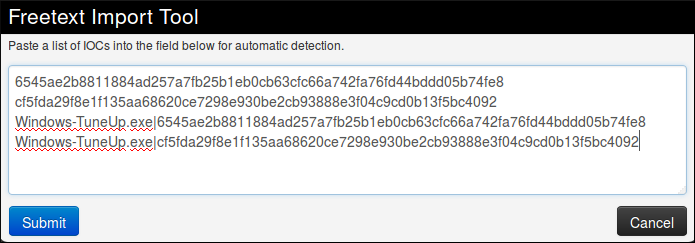
Then the hashes that are already said to be SHA 256, and a quick test on VirusTotal also reveals that they correspond to the filename seen earlier. so we can add both as an association filename|SHA256. Once again, the category will be Payload delivery.
And finally the network communication. No doubt here for the category: Network activity, and the type might be url but for the example, we will let MISP decide for us.
So we begin with the filename. No real change from before for this one, except that we will set the IDS flag to true.
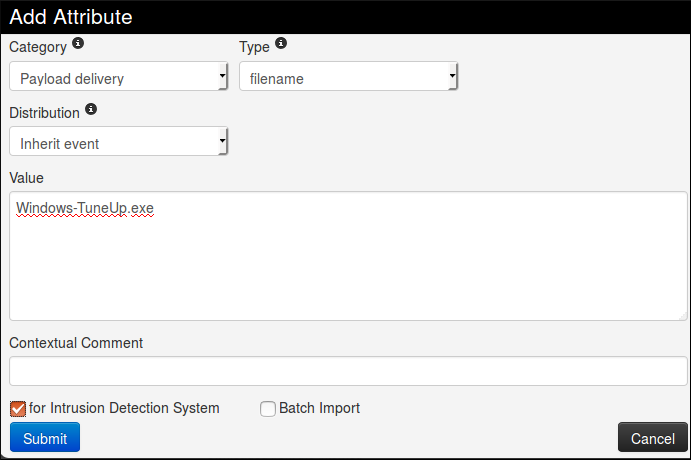
Freetext Import Tool
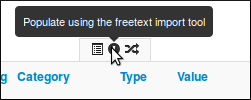
Then we can add the hashes in a similar way. We will had them both alone and combined with the filename. In order to do it quickly, we are going to use the freetext import tool, hidden there
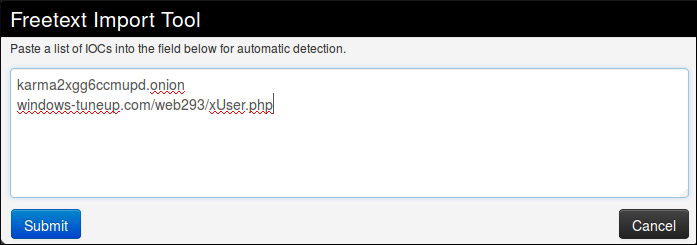
It will open a popup with a text area field where we will paste our IoC, one per line. As said previously, we add both the hashes alone and with the filename.
Then when we press the submit button, we are redirected on this page to control the sent data.
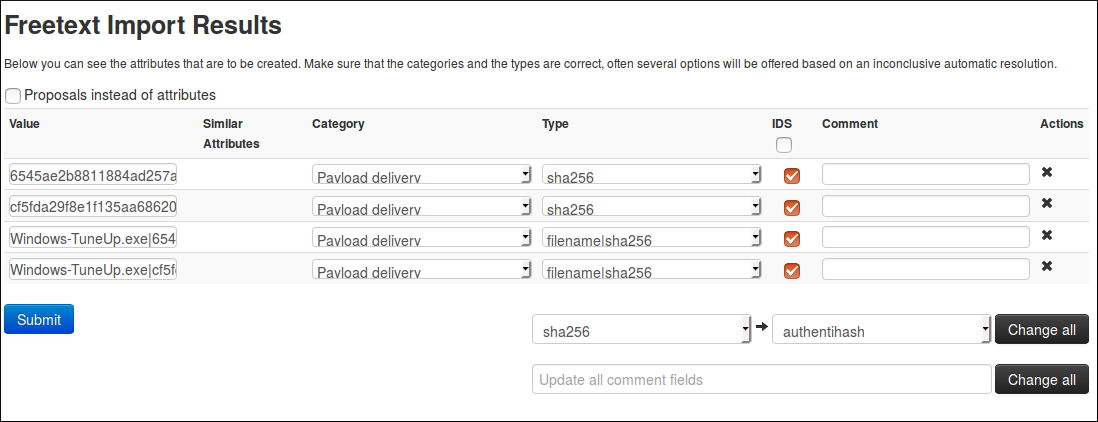
Here, MISP detected by itself what should be the category and type associated to our IoC and surprise! It matches our suppositions. Plus, it also put the IDS flag, so it is perfect. But before submitting, please double check to be sure all the values are correct and no information was lost (That can happen when the data are not formatted as expected by MISP).
If the results of MISP were not what we expected, we can still modify it, however MISP will only suggest suitable category/type regarding the format of your data. We can change for each attribute individually or all at the same time using the option on the bottom right of the form. The same principle also applies for the comments, individually or for all.
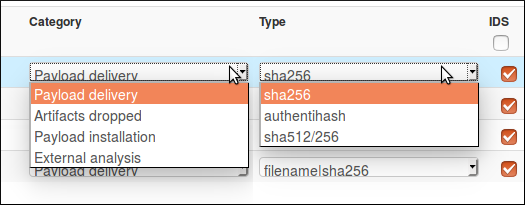 (Yes I have two cursors, MISP is magic!)
We only have the network indicators left, and as said before, we will let MISP determined for us which type is the best for the data we have.
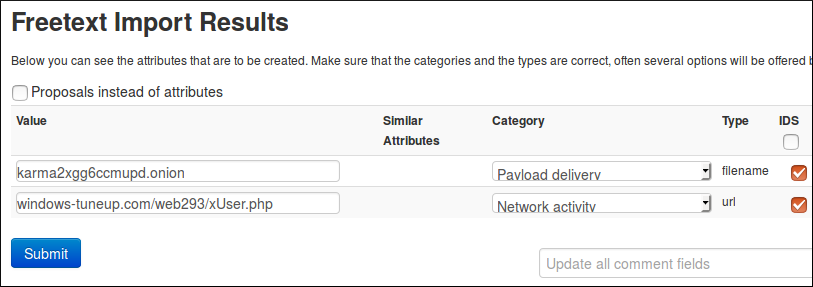
Oh well, that was unexpected. In fact, it is not that surprising regarding the format of the tor address that look more like a filename than like a url but it is still a problem, since we can’t change the type nor the category to a more consistent one. This is indeed one of the limitation of freetext import. To solve this issue, we will use a simple trick: we will add a slash at the end of the tor address so it won’t be confused for a filename.
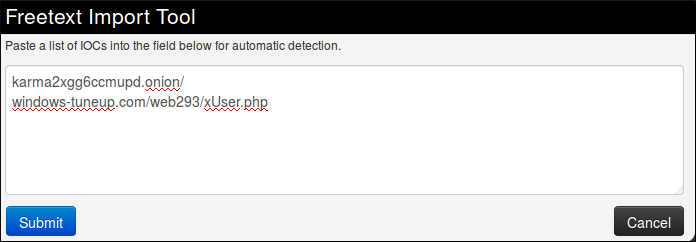
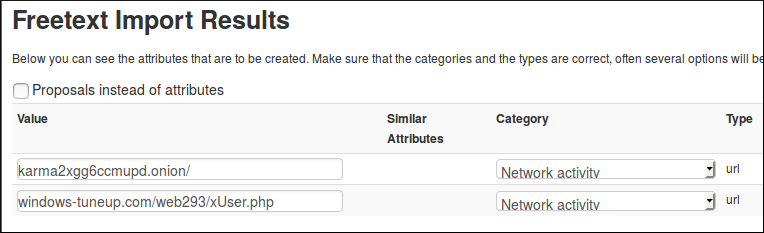
Thanks to the added character, the first string is recognised as an url which is more consistent with the reality. The second also seems okay, so we can now submit both.
Batch Import
The Freetext Import works properly only with a string of data without any spaces in one line. But if you have lines of text with spaces between values, like e.g.
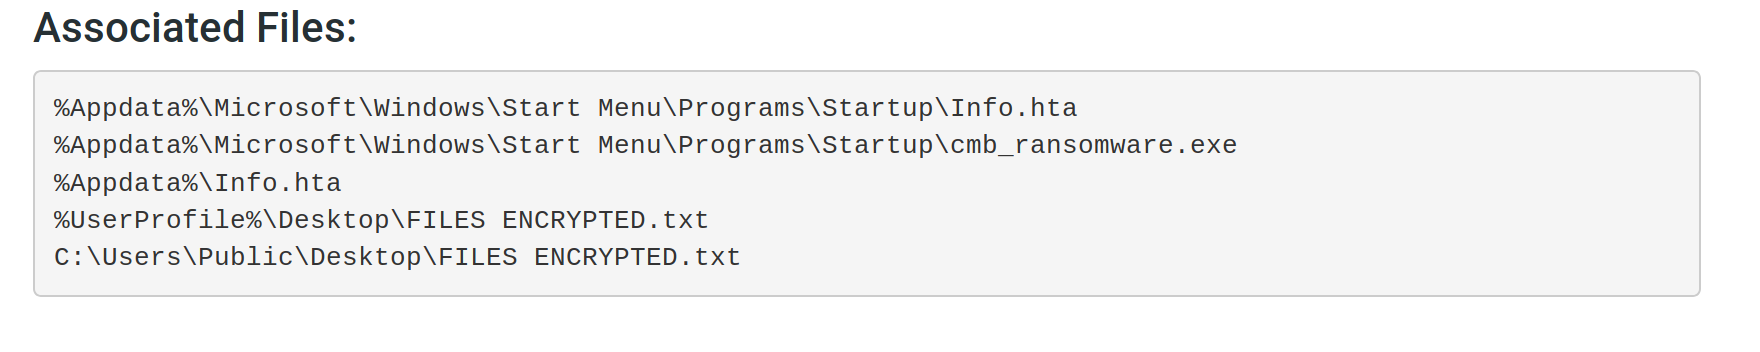
you can still import them at once using the “Add Attribute” option. Click on Add Attribute, copy the data and paste it into the Value box. Choose the right category and type. Now check both checkboxes for Intrusion Detection System and Batch Import. The option Batch Import will import your data line for line just like the Freetext Import option without losing any information. Like this:
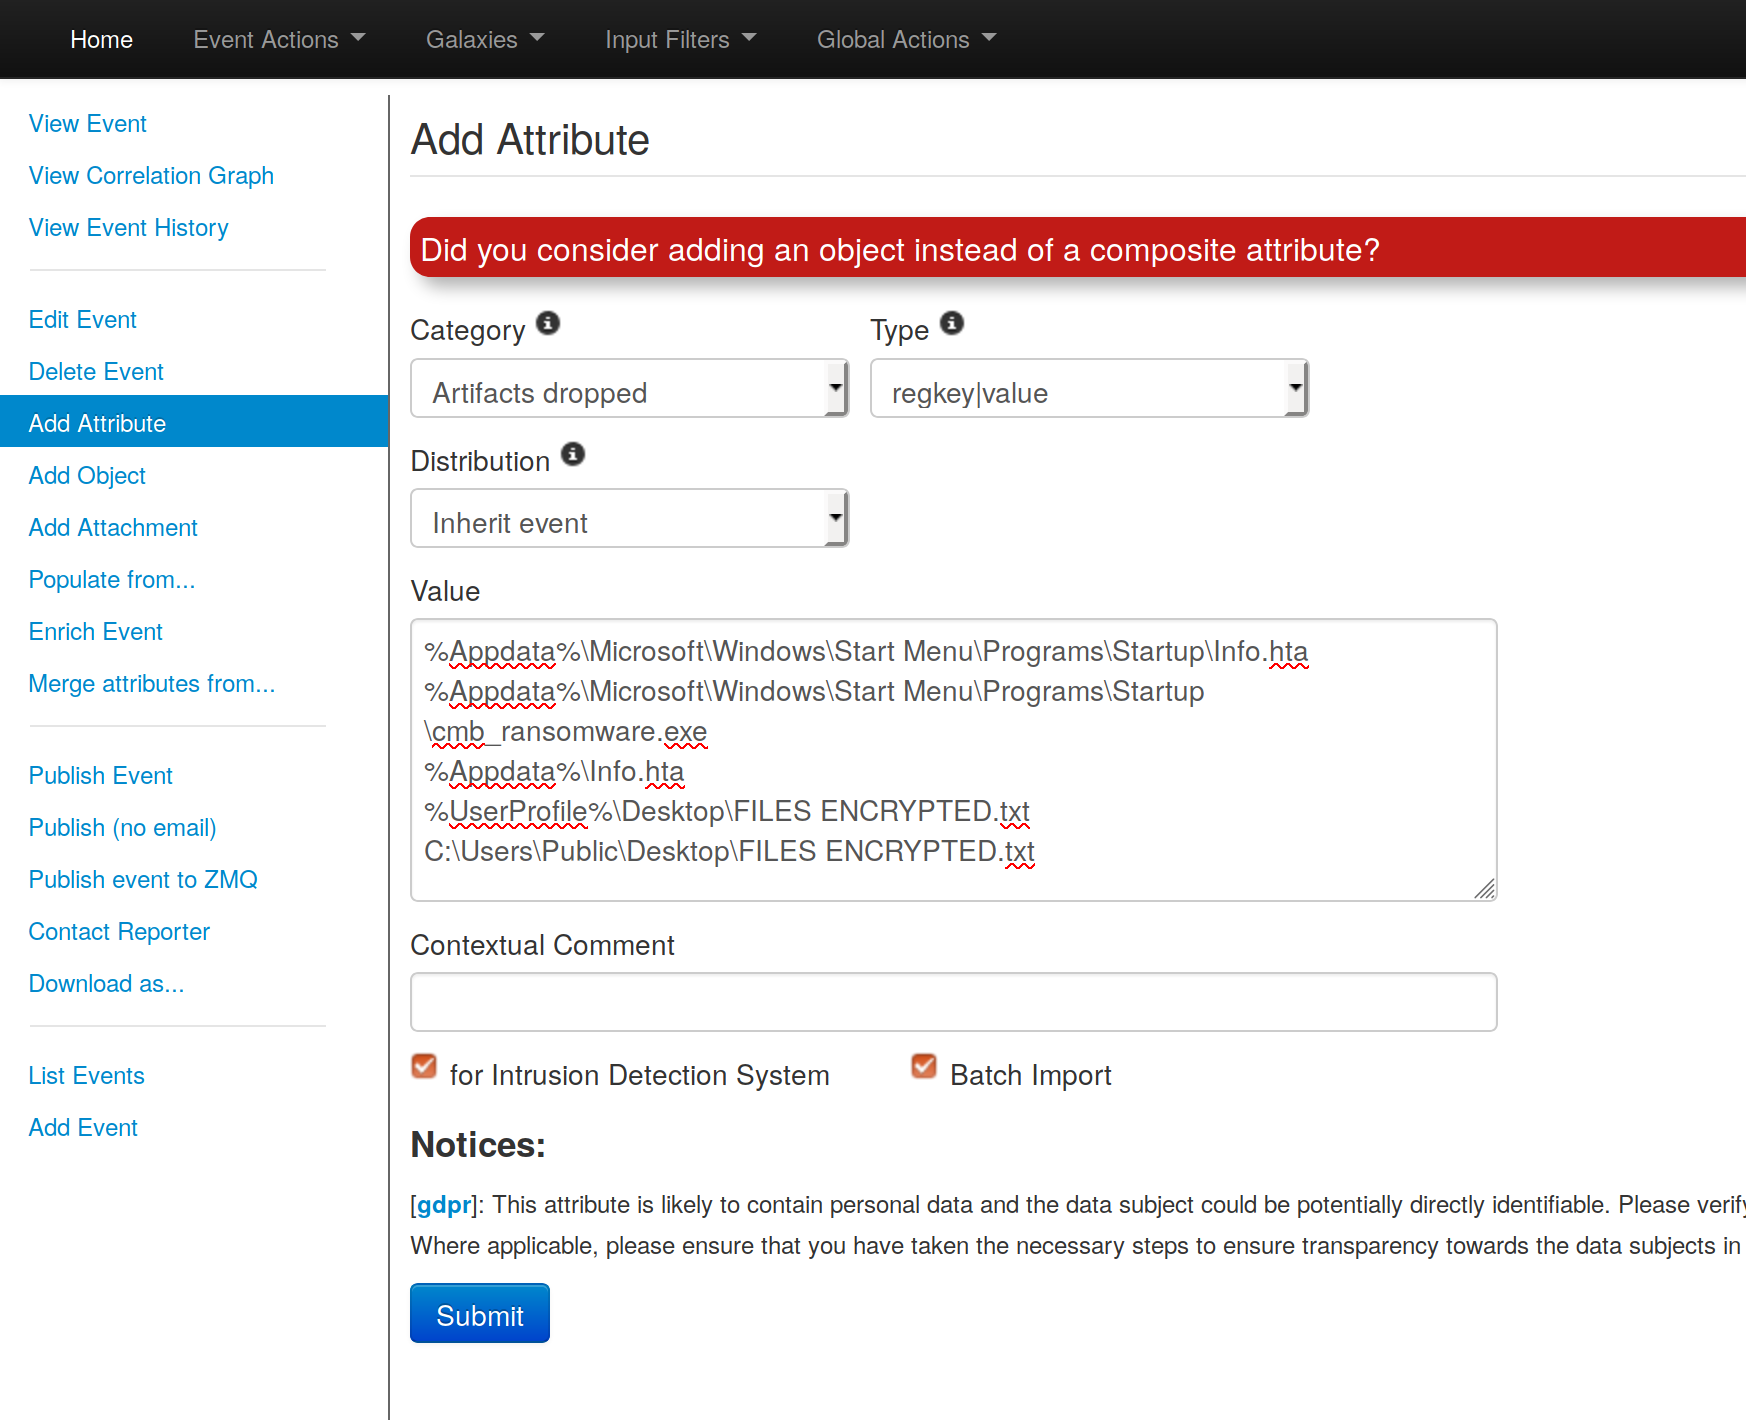
And that is all we can get for the main informations and IoC in this report. If we search more carefully, there might still be some information left in it, like the filename of the ransomnote for instance, but we will stop here for this example.
Modify the event
If you want to modify your event from the home page, you can either double click on the event or click the edit symbol located in the column Actions on the right side. You will be redirected to the editing mode of the selected event.