User Management and Global Actions
This chapter covers managing your own MISP account — first login, your profile, notification preferences, API keys, multi-factor authentication and personal settings. Creating and administering other users, and the role/permission model, are covered in the Administration chapter.
First run of the system
When you first log in with the credentials provided by your administrator, there are a few things to do before you start using the system:
Accept the terms of use — shown immediately after your first login. Read the page and click Accept Terms at the bottom.
Change your password — you are then prompted to set your own password. It must satisfy the MISP password policy. Enter it in both fields and submit.
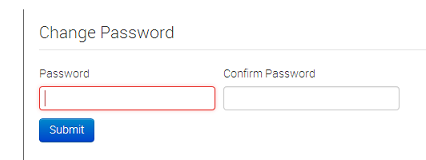
Changing the password Set up your PGP/GnuPG key — so MISP can encrypt the emails it sends you. Go to My Profile → Edit profile and paste your public key into the GnuPG Key field.
Subscribe to notifications — in the same Edit profile view, tick the relevant boxes (see below).

Use these checkboxes to subscribe to auto-alerts and contact-reporter emails.
Your profile
My Profile (Global Actions → My Profile) shows your account details and, via Edit profile, lets you manage:
- your display name and PGP/GnuPG (and optional S/MIME) key for encrypted mail;
- Receive alerts when events are published (auto-alert) — email whenever a new event you are eligible to see is published;
- Receive alerts from “contact reporter” requests — email when another user contacts your organisation about one of its events. (You may still be contacted directly as an event’s creator even with this off.)
API keys
To use the REST API or PyMISP, create an authentication key under My Profile → Auth Keys. Modern MISP uses advanced auth keys: each key is stored hashed, shown only once at creation, and can carry a comment, an expiry, an IP allowlist and a read-only flag. See the automation chapter for the full workflow.
Multi-factor authentication
If your instance enables it, you can secure your account with TOTP/HOTP multi-factor authentication from My Profile. See Multi-factor authentication for the user-facing walkthrough, and the administration chapter for enabling it instance-wide.
Personal settings
My Settings (Global Actions → My Settings) holds per-user preferences, including your interface theme, dashboard configuration, and the publish alert filter — a JSON filter that narrows which published-event emails you receive (by tag, creator organisation or threat level). See Setting a Publish Alert Filter in the administration chapter for the filter syntax.
User administration and roles
Administrators (site and organisation admins) create, edit, disable and contact users, and assign them roles. A role sets a user’s base permission level and a set of feature permissions. All of this is covered in the Administration → Users and Roles sections.